
After your total hip replacement, you will start gentle exercises right away to facilitate proper healing and recovery. Early movement is so important in meeting your strength and range of motion goals. Below you will find some common exercises your surgeon and physical therapist will recommend you begin performing initially after your surgery.
Equipment needed: floor mat, pillow
1. Lie on your back with your legs stretched out, toes pointing upward, and a pillow beneath the knee.
2. Slowly squeeze the muscles surrounding your knee (your quadriceps) to straighten it. Another cue that often helps is to imagine you are trying to squish the pillow down onto the table by pressing the back of your knee down onto it.
3. Maintain the contraction for 10-30 seconds, release, then repeat about 10 times, or until you feel muscle fatigue. You can perform on both legs.
Equipment needed: floor mat
1. Lie on your back with your knees bent and feet on the floor, or you can leave your legs stretched out in front of you with your toes pointed upward for comfort.
2. Slowly squeeze the muscles of your buttocks and hold.
3. Maintain the contraction for 10-30 seconds, release, then repeat about 10 times, or until you feel muscle fatigue.
Note: Be mindful not to lift your buttocks off the floor – this is not a bridge.
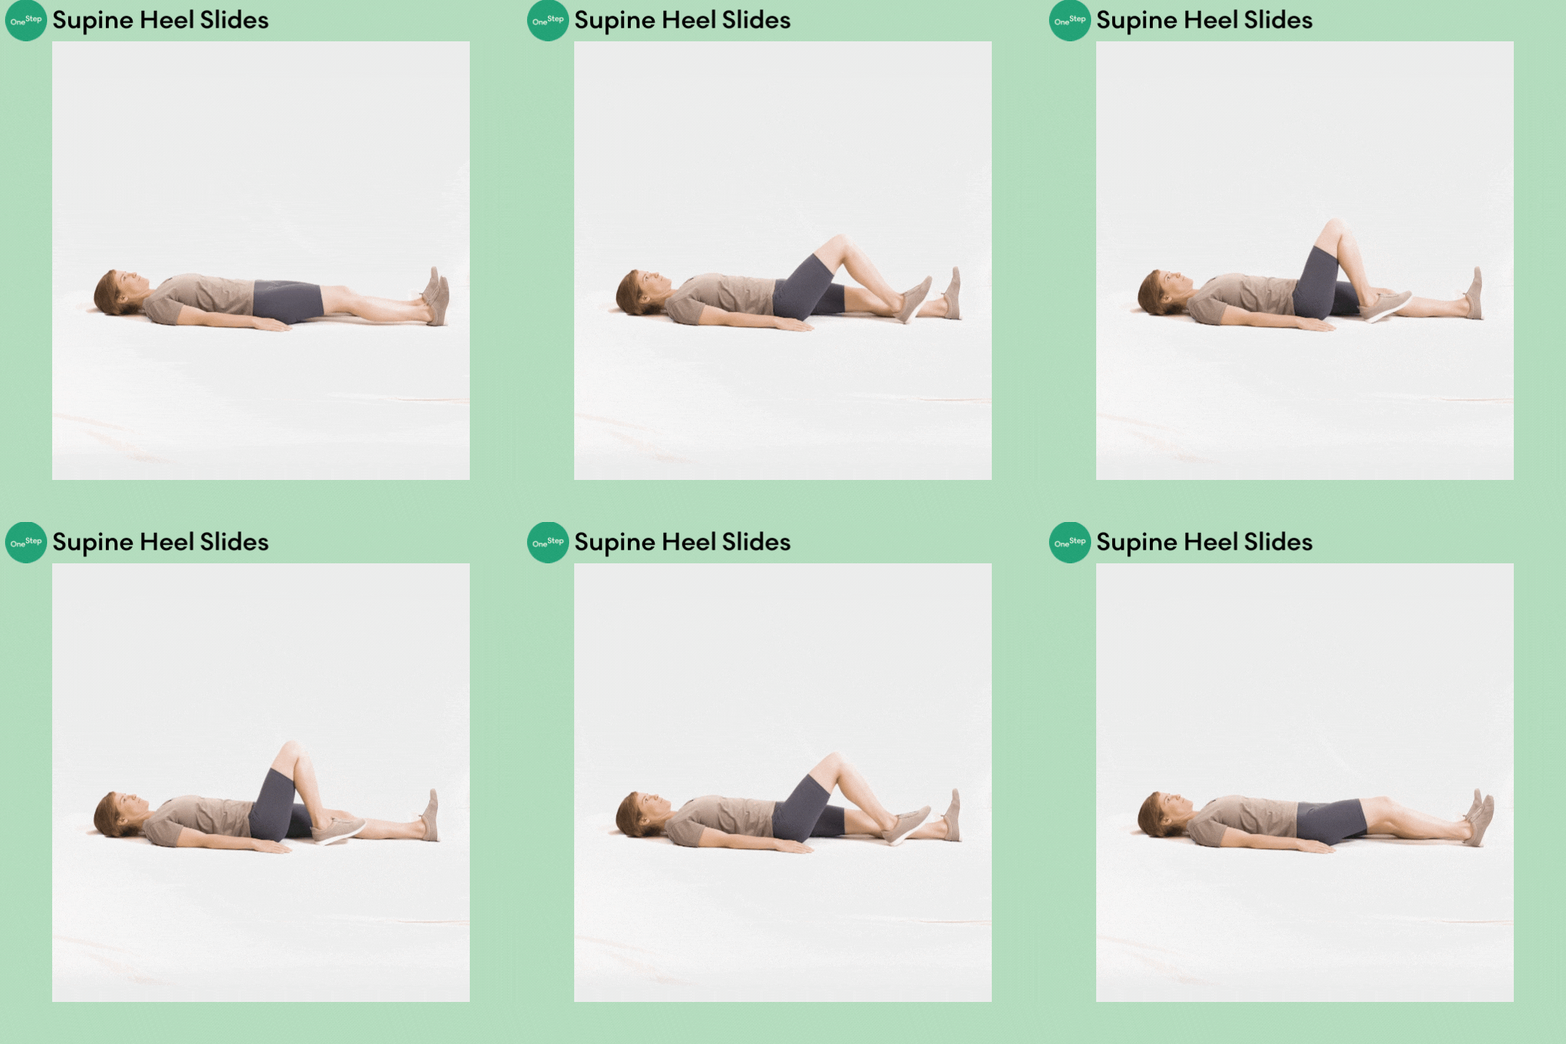
Equipment needed: floor mat
1. Lie on your back with your legs stretched out, toes pointing upward, and heels on the floor.
2. While engaging your buttocks and core, slowly slide one heel towards your buttocks, bending at the knee.
3. Slide your heel forward again, straightening your knee, as your leg returns to the starting position, then repeat about 10 times, or until muscle fatigue. You can perform this exercise on both legs.
Note: Make sure you DO NOT bend your hip past 90 degrees or allow your leg to roll inward or outward at any time during this exercise.
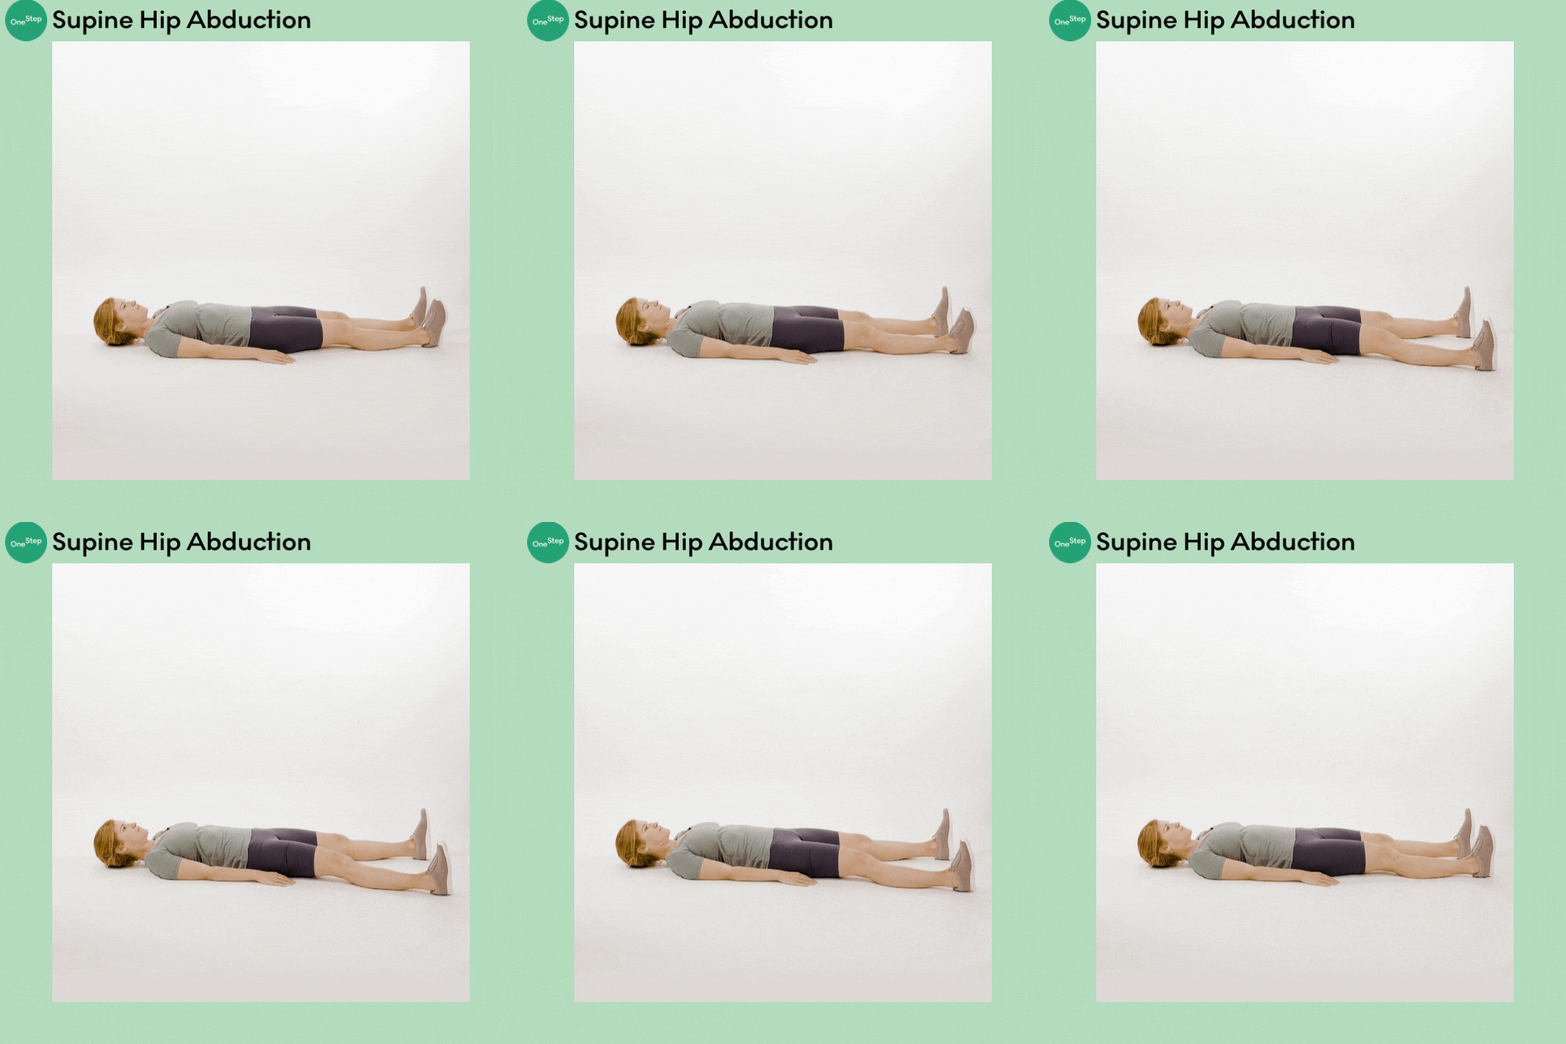
Equipment needed: floor mat
1. Lie on your back with your legs stretched out in front of you and your toes pointed upward toward the ceiling.
2. Slowly slide one leg out to the side of you, as if you are making a one-sided snow angel. Do not go out too far, only to what feels comfortable and pain free.
3. Repeat about 10 times, or until muscle fatigue. You can perform this exercise on both legs.
Note: Do not bring your leg past neutral when returning inward. Make sure to keep your toes pointed upwards, preventing the leg from rolling inward or outward.
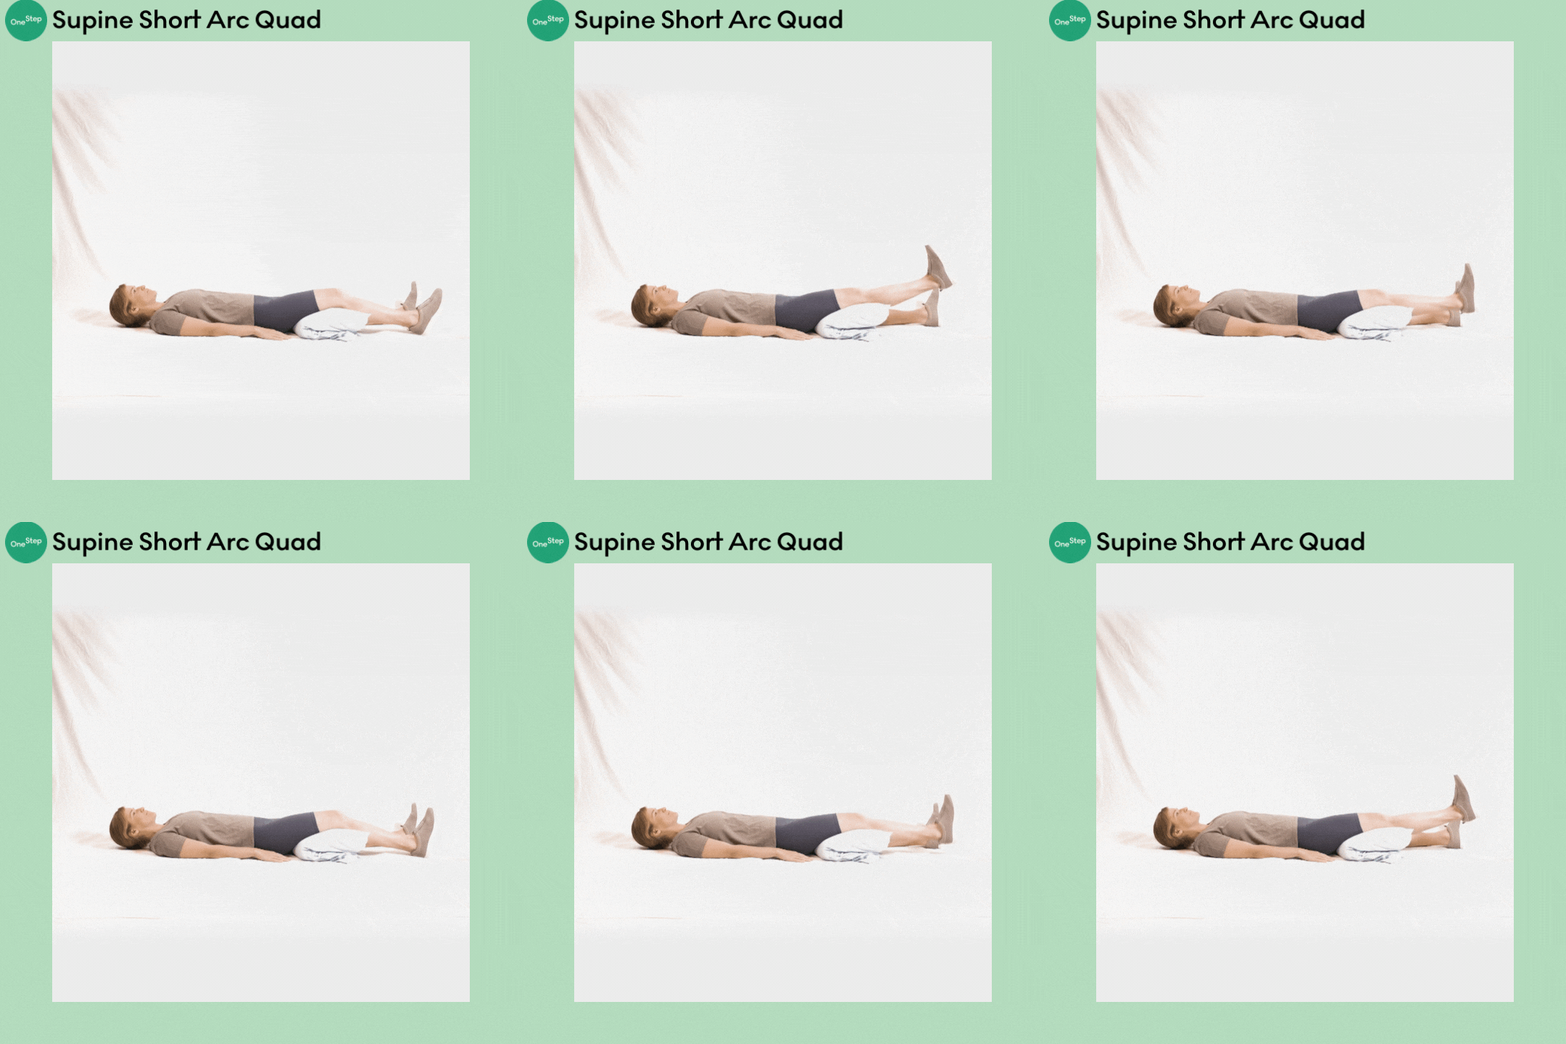
Equipment needed: floor mat, pillow or rolled towel
1. Place a pillow or rolled towel under your thigh. Lie on your back with your legs stretched out, toes pointing upward, heels on the floor, and your knee slightly bent over the pillow or bolster.
2. Straighten your knee, lifting the heel off the floor. Hold for a moment once your leg is fully extended, then slowly lower your heel back to the starting position.
3. Repeat about 10 times, or until muscle fatigue. You can perform this exercise on both legs.
Note: Make sure your toes point upward throughout the entire movement (do not let your leg roll inward or outward) and that you engage your core and buttocks. To protect your low back, you can bend the opposite leg for added support during this exercise.
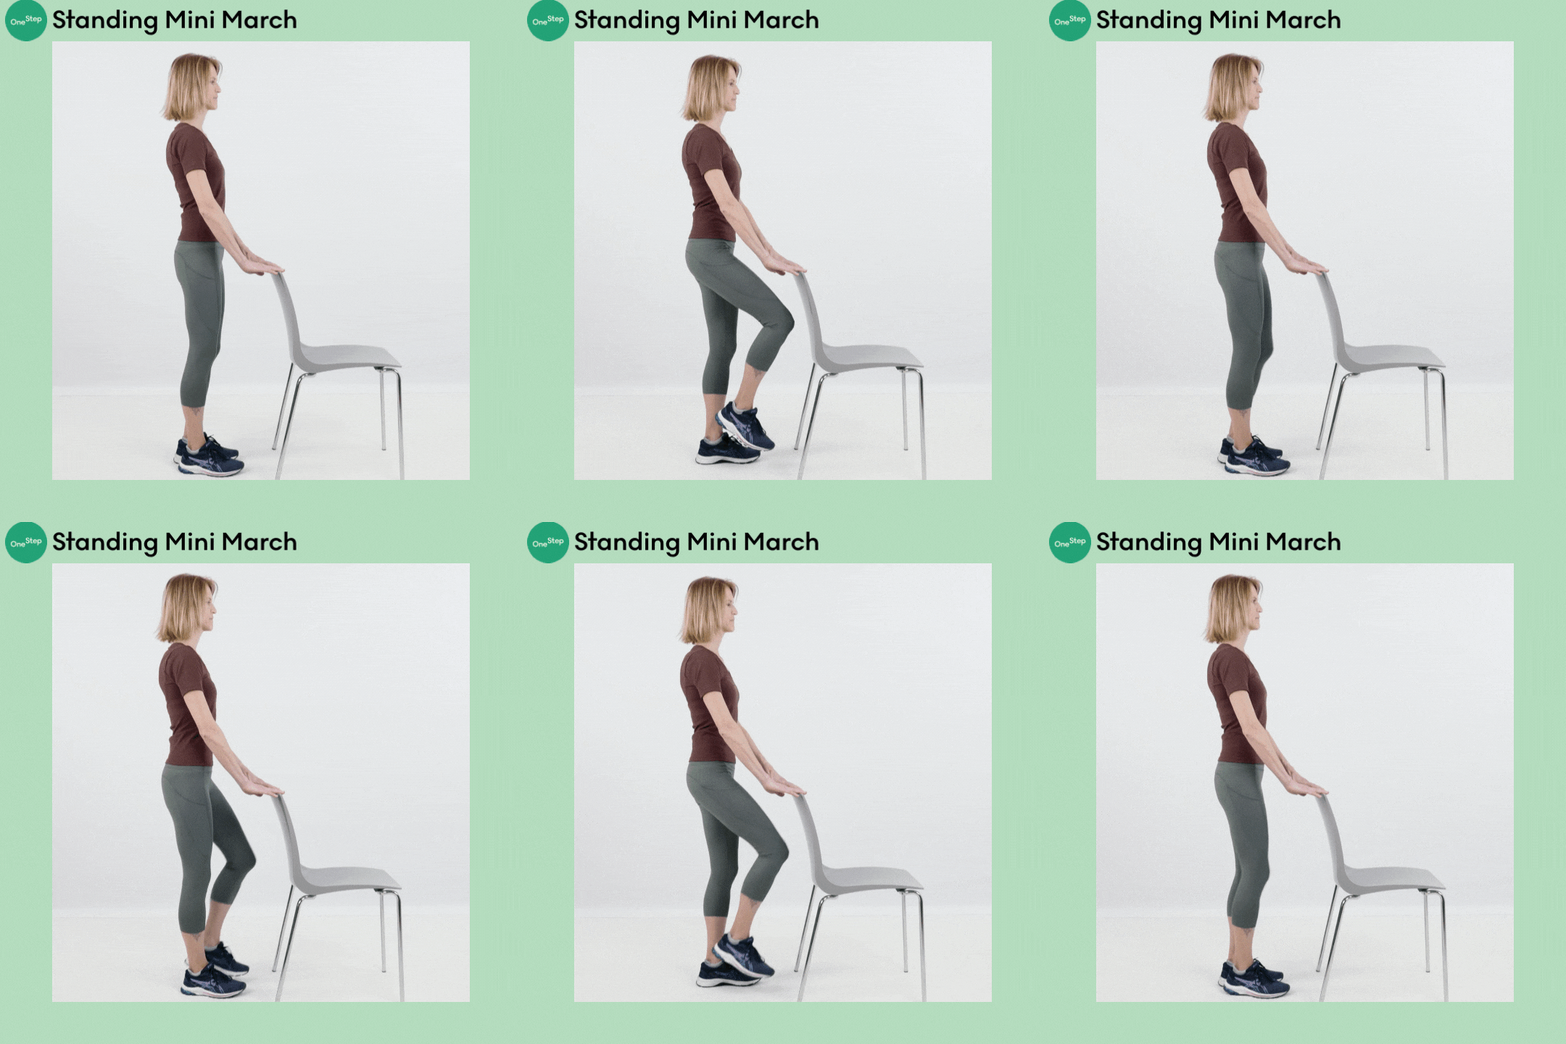
Equipment needed: Study chair or counter top to balance yourself on
1. Stand with your feet on the floor and your hands holding onto a counter or stable chair for support initially.
2. Shift your weight to one side and raise your opposite knee upwards towards the ceiling as if you are marching. Try to hold for 2 seconds, then lower the leg back to the ground. Shift your weight to the opposite side, and lift your opposite leg so that you are marching in place with alternating legs.
3. Repeat for a total of 20 marches, or until muscle fatigue.
4. If this is too difficult, begin by just shifting your weight from one side to the other, then attempt to lift your leg as you become more confident. Likewise, if alternating is too difficult, you can repeat this exercise 10 times on one side, then switch to the other.
Note: ***DO NOT raise your affected hip past 90 degrees when you are marching.
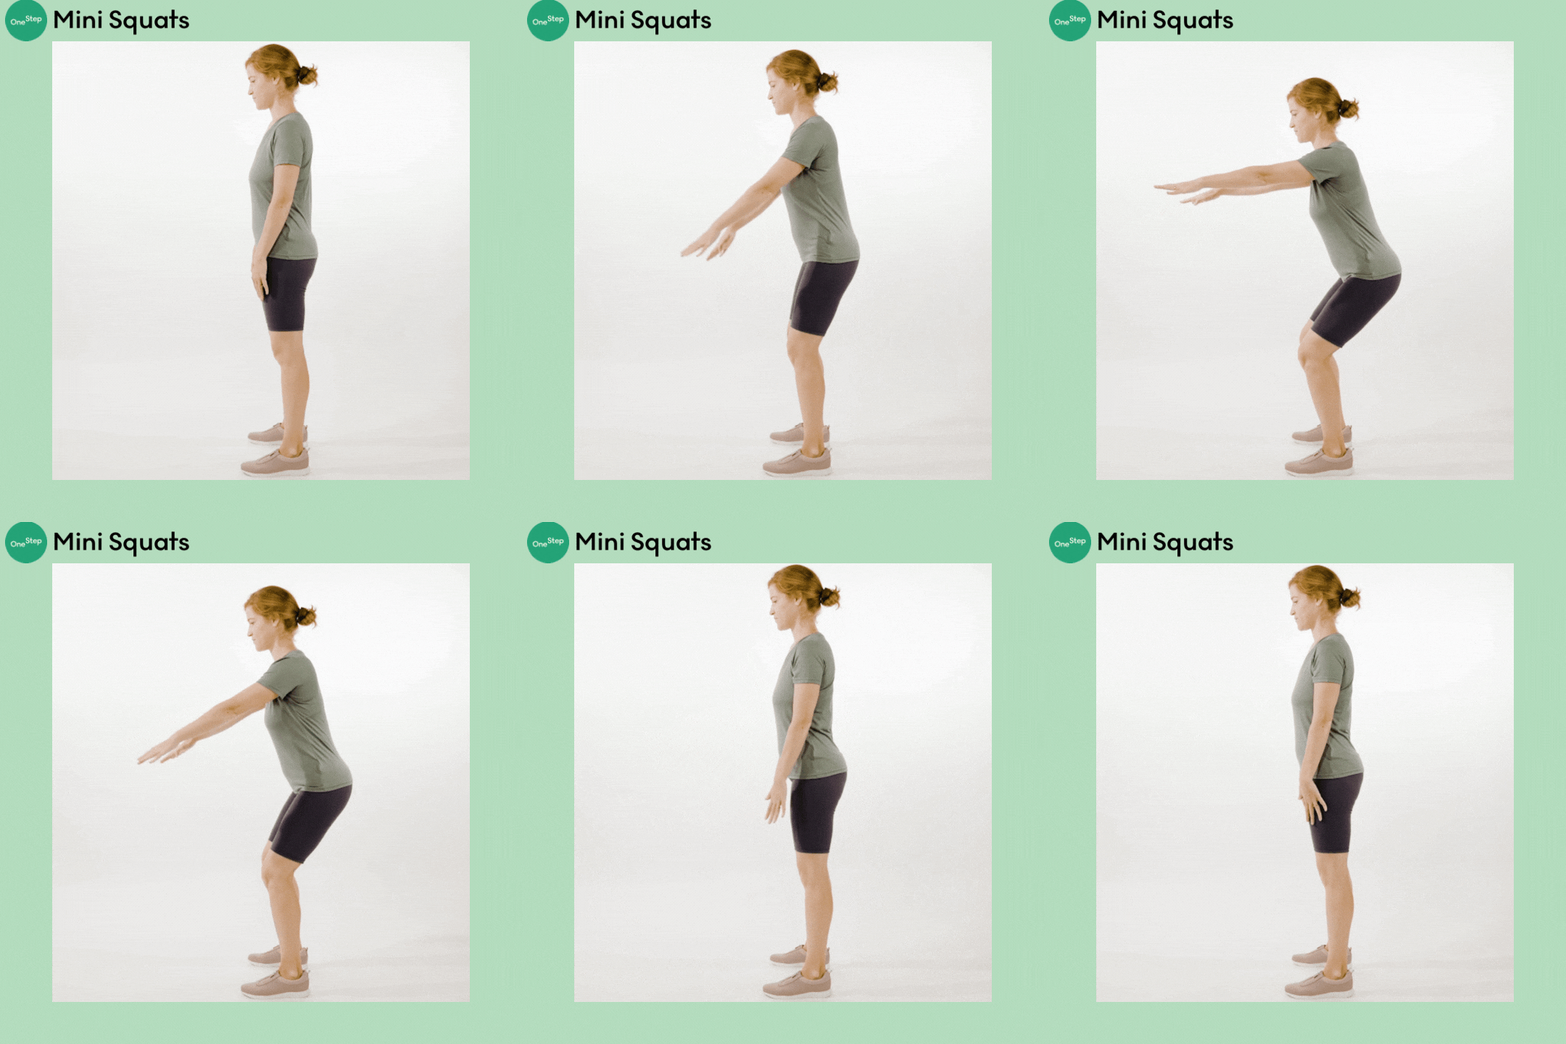
Equipment needed: none
1. Stand with your feet on the floor, about shoulder width apart, and your hands holding onto a counter or stable chair for support initially.
2. Slowly bend at your knees, as if you were to sit into a chair behind you, controlling the movement with your legs. Stop once you have a slight bend at your hips and knees, hold for 2-5 seconds, then rise back to standing.
3. Repeat about 10 times, or until muscle fatigue.
Note: ***This is not a full squat, so you should only squat as far as it feels comfortable and only about a third of the way down. NEVER go past 90 degrees of hip flexion.
Check out our youtube channel for more information on how to perform exercises and find answers to your PT questions. Need more specific help or want a customized exercise program? Download the OneStep Digital Physical Therapy app to consult with a licensed physical therapist today!